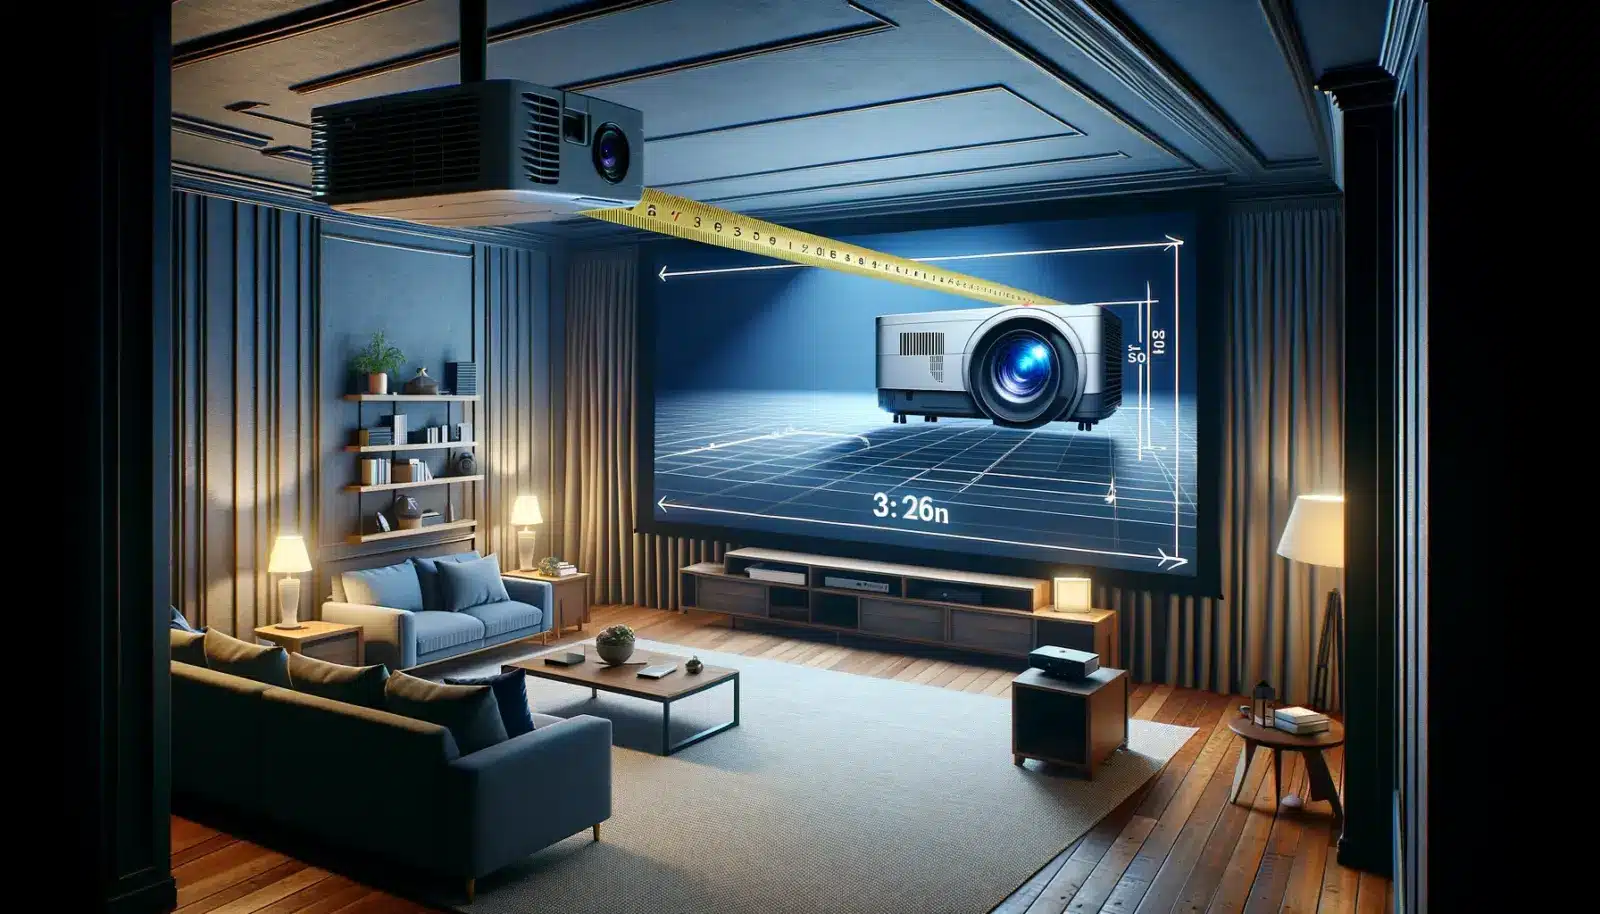
| Viewing Distance (ft) | Recommended Screen Size (diagonal) | Projector Placement (from screen) | Seating Placement (from screen) |
|---|---|---|---|
| 6 ft | 60 inches | 6-8 ft | 6 ft |
| 8 ft | 80 inches | 8-10 ft | 8 ft |
| 10 ft | 100 inches | 10-12 ft | 10 ft |
| 12 ft | 120 inches | 12-15 ft | 12 ft |
| 14 ft | 140 inches | 14-18 ft | 14 ft |
| 16 ft | 160 inches | 16-20 ft | 16 ft |
Please Note: The above recommendations serve as a general guideline. The exact requirements may vary based on the specific projector model, screen type, and personal viewing preferences. It’s important to consult your projector and screen manuals for precise placement instructions and to adjust based on the layout and conditions of your home theater room.
For a complete detailed guide, please reference and follow our article outline below!
Calculating the Optimal Screen Size for Your Room
When designing a home theater, selecting the right screen size and determining the optimal viewing distance are crucial for an immersive viewing experience. The THX standard and various formulas provide guidelines to help you calculate the ideal screen size based on your seating arrangement and room dimensions. Let’s delve into these aspects to understand how to make these calculations.
The THX Standard for Screen Size and Viewing Distance
The THX standard for screen size and viewing distance aims to replicate the cinematic experience at home. According to THX, the ideal viewing angle for movie watching is about 40 degrees. This means that the screen should fill 40 degrees of your field of view for an immersive experience. To calculate the optimal viewing distance based on this standard, you can use the following formula:
Viewing Distance (in feet) = Screen Width (in inches) ÷ 0.84
This formula ensures that you are seated at a distance where the screen fills the recommended 40 degrees of your field of vision. For example, if you have a 100-inch wide screen, the ideal viewing distance would be:
100÷0.84=119 inches, or approximately 10 feet.
Formula for Calculating Screen Size Based on Seating Arrangement
If you want to determine the ideal screen size based on where you plan to place your seating, you can reverse the THX formula. Given that the optimal viewing distance is related to the screen width, you can calculate the screen size you need by considering your seating arrangement first.
Screen Width (in inches) = Viewing Distance (in feet) × 0.84
So, if your couch is 12 feet (144 inches) from where the screen will be, the calculation for the screen width would be:
12×0.84=10.08 feet, or approximately 121 inches in width.
Room Dimensions and Their Influence on Screen Size Choices
Room dimensions play a significant role in determining the optimal screen size for your home theater. The width and length of the room can limit the maximum size of the screen you can comfortably use, as well as affect the viewing distance.
- Room Width: The width of the room limits the maximum screen size that can be accommodated. You need to ensure there is enough space on either side of the screen for speakers and to prevent the screen from overwhelming the room.
- Room Length: The length of the room determines the maximum feasible viewing distance. If your room is not long enough, a very large screen may not be suitable, as you won’t be able to sit far enough away to view the screen comfortably within the THX recommended viewing angle.
- Ceiling Height: The height of the ceiling can also influence screen size, especially if you’re considering a fixed or motorized screen that drops from the ceiling. There needs to be enough vertical space to accommodate the screen when fully deployed, without it being too low that it interferes with viewing or too high that it causes neck strain.
Mastering Projector Placement for Supreme Viewing
Mastering the art of projector placement is pivotal in crafting a home theater that not only dazzles the eyes but also comforts the body. The position of your projector can dramatically affect the overall viewing experience, influencing everything from the brightness and clarity of the images to the physical comfort of the viewers. Let’s delve deeper into why proper projector placement is crucial and explore the guidelines that ensure a supreme viewing experience.
The Significance of Proper Projector Placement
Ensuring Uniform Brightness and Image Quality
Proper placement ensures that the light from the projector uniformly illuminates the screen, avoiding areas that are either too bright or too dim. Uniform brightness is essential for maintaining consistent image quality across the entire screen, ensuring that all scenes, from the darkest shadows to the brightest highlights, are displayed with clarity and detail.
Avoiding Keystoning and Image Distortion
Keystoning occurs when the projector is not aligned perpendicular to the screen, causing the image to appear wider at the top or bottom. This distortion can significantly detract from the viewing experience, making it difficult to become fully immersed in the content. Proper placement minimizes keystoning, allowing for a perfectly rectangular image that matches the screen’s dimensions.
Enhancing Viewer Comfort and Reducing Neck Strain
The position of the projector can also impact viewer comfort. If the image is too high or too low, it may force viewers to hold their necks at uncomfortable angles for extended periods, leading to strain and fatigue. By positioning the projector so that the center of the image aligns with the audience’s eye level when seated, you can significantly enhance comfort and prevent neck strain.
Guidelines for Ideal Projector Placement
Standard Recommendations for Projector Height and Angle
A general rule of thumb is to place the projector at a height where its lens is aligned with the top or bottom edge of the screen, depending on whether the projector is ceiling-mounted or placed on a low stand. The angle of projection should be as close to perpendicular to the screen as possible to maintain image integrity and prevent distortion.
The Importance of Aligning the Projector with the Screen Center
Aligning the projector with the center of the screen is critical for achieving a balanced and correctly proportioned image. This alignment ensures that the projection light hits the screen squarely, reducing the risk of keystoning and ensuring that the entire screen is utilized efficiently.
Adjusting for Ambient Light and Room Layout
Ambient light can wash out projector images, making them appear faded or lacking in contrast. Placement should therefore consider sources of ambient light, with the projector positioned to minimize its impact. This might mean avoiding placement directly opposite windows or other bright light sources.
Additionally, the room’s layout plays a significant role in projector placement. Considerations include the location of seating, the presence of any furniture that might obstruct the projection path, and the room’s general shape and size. In some cases, using projector features like lens shift or keystone correction can help accommodate less-than-ideal room layouts without sacrificing image quality.
Navigating the complexities of room dimensions and layout is crucial for creating an optimal home theater experience. The interplay between room size, screen dimensions, projector features, and seating arrangements determines the overall viewing quality and comfort. Let’s explore these aspects in more detail.
Tailoring Screen Size to Room Size
Strategies for Small vs. Large Rooms
In small rooms, the challenge lies in maximizing screen size without overwhelming the space or compromising image quality. For these spaces, short-throw projectors are ideal as they can project large images from a short distance, allowing for a big-screen experience even in tight quarters. Conversely, large rooms offer more flexibility in screen size and projector placement but require careful consideration of viewing distance to ensure that all seats offer a good view.
Considerations for Ceiling Height and Room Shape
Ceiling height affects the type of projector mount you might use and the screen’s placement. High ceilings may necessitate longer mounts or adjustable positioning to align the projector correctly with the screen. Additionally, the room shape can influence screen visibility. Irregularly shaped rooms might require screens with wider viewing angles or strategic placement to ensure that the image is visible from all seating areas.
Tips for Flexible Setups in Multi-purpose Spaces
For rooms serving multiple purposes beyond a home theater, consider retractable screens or motorized projectors that can be hidden when not in use. This flexibility allows the room to transition seamlessly between its various functions without permanent fixtures obstructing the space.
Optimizing Viewing Angles and Seating Arrangements
Arranging Seating for Unobstructed Views
Ensure that every seat in the house has a clear, unobstructed view of the screen. This may involve arranging seating in a semi-circle or angled rows facing the screen. Avoid placing seats where viewers must crane their necks or peer around obstacles to see the screen.
Balancing Screen Size with Field of View
The screen size should match the field of view from the seating area, ensuring that viewers can comfortably see the entire screen without excessive head movement. A general guideline is that the screen should occupy a 30-40 degree field of view for the audience, which can be adjusted based on personal preference and content type.
Recommendations for Tiered Seating
In rooms with multiple rows of seating, consider tiered seating to elevate each row above the one in front of it, similar to a movie theater. This arrangement ensures that every viewer has an unobstructed view of the screen, regardless of their seat.
Delving Into Advanced Screen and Projector Features
Choosing the Right Screen Material
The screen material significantly affects image quality. A higher gain screen reflects more light directly back to the audience, enhancing brightness and contrast in environments with ambient light. However, too high a gain can lead to hot spotting and reduced viewing angles. ALR (Ambient Light Rejecting) screens are specifically designed to counteract the effects of ambient light, making them ideal for bright rooms.
Motorized vs. Fixed Screens: Convenience vs. Performance
Motorized screens offer the convenience of disappearing when not in use, perfect for multi-use spaces. Fixed screens, however, tend to have a tauter surface, which can provide a slightly better image quality by eliminating wrinkles or waves.
Advanced Projector Placement Techniques
Using Lens Shift and Zoom Capabilities for Flexible Placement
Modern projectors often feature lens shift and zoom capabilities, allowing for greater flexibility in placement without sacrificing image quality. Lens shift lets you adjust the position of the image vertically and horizontally without moving the projector, while zoom allows you to change the image size.
The Role of Short-Throw Projectors in Small Spaces
Short-throw projectors are designed to project large images from a short distance, perfect for small rooms where traditional projectors would require too much throw distance.
Ceiling Mount vs. Shelf Placement: Pros and Cons
Ceiling mounting can save space and reduce the risk of the projector being bumped or misaligned. However, it requires more installation effort and may not be suitable for very high ceilings. Shelf placement offers ease of setup and accessibility but may take up valuable room space and require more frequent adjustments.
Practical Tips for DIY Enthusiasts
Step-by-Step Guide to Determining Your Screen Size
- Measure Your Room Dimensions: Start by getting accurate measurements of your room’s length, width, and height. These dimensions will help you understand the space you have available for both the screen and seating.
- Calculate the Optimal Viewing Distance: Utilize the THX and SMPTE (Society of Motion Picture and Television Engineers) guidelines to calculate the ideal viewing distance based on your screen size. The THX recommendation is a viewing angle of 40 degrees, while SMPTE suggests a 30-degree viewing angle.
- Apply the THX or SMPTE Guideline Formulas (shown at the start of this article)
- Adjust for Personal Preference and Seating Flexibility: Consider your personal preferences and the flexibility of your seating arrangement. Some viewers prefer being closer to the screen for a more immersive experience, while others may opt for a bit more distance.
Do’s and Don’ts of Projector and Screen Installation
- The Importance of Level Installation: Ensure that both the screen and projector are perfectly level. A screen that’s even slightly askew can significantly detract from the viewing experience.
- Avoiding Common Pitfalls in Screen Alignment: Pay close attention to the alignment of your projector with the center of the screen. Misalignment can lead to a distorted or improperly sized image.
- Recommendations for Wiring and Component Placement: Plan your wiring carefully to avoid clutter and potential hazards. Conceal wires within walls or use cord covers. Place components where they are easily accessible yet out of the way.
AZP Home Theaters: Enhancing Your Home Cinema Experience
Why Choose AZP Home Theaters for Your Setup
- Expertise in Optimal Screen Size and Placement: With years of experience, AZP Home Theaters offers expert advice on selecting the perfect screen size and ensuring its optimal placement for a truly immersive experience.
- Custom Solutions for Unique Home Theater Designs: Understanding that every home and homeowner is unique, they provide customized solutions that cater to individual needs and preferences.
- Commitment to Quality and Customer Satisfaction: Their dedication to delivering high-quality setups and ensuring customer satisfaction is paramount, making them a reliable choice for your home theater project.
Frequently Asked Questions
How does room size affect projector screen size?
Room size directly influences the maximum and minimum projector screen size that can be comfortably viewed. Larger rooms allow for bigger screens without causing strain, while smaller rooms might require a more moderate screen size to ensure a comfortable viewing distance and angle for all viewers.
Can I adjust my projector placement instead of the screen size for a better experience?
Yes, adjusting the projector placement, including height, angle, and distance from the screen, can significantly enhance the viewing experience. However, this must be balanced with the optimal screen size to maintain image quality and prevent distortion.
What if my room has a lot of ambient light?
For rooms with high levels of ambient light, consider using an ALR (Ambient Light Rejecting) screen. These screens are designed to enhance contrast and color saturation in well-lit environments, allowing for a better viewing experience during the day or in rooms with many windows.
Is there a difference in screen size requirements for HD, 4K, and 8K projectors?
Yes, the higher the resolution of the projector, the closer you can sit to the screen without noticing pixelation, allowing for a larger screen in the same space. However, the optimal size still depends on viewing distance and personal preference for an immersive experience.
What are the key factors to consider for DIY projector screen installation?
Key factors include ensuring the screen is level, positioned at an optimal height for seated viewers, avoiding ambient light interference, and aligning the projector correctly to prevent image distortion. Also, consider the screen material and frame to best suit your room’s acoustics and lighting.
Conclusion
Optimizing projector screen size and placement is a fine art that significantly enhances your home theater experience. By understanding the relationship between screen size, viewing distance, and room dynamics, you can create an immersive cinema experience right in your own home. AZP Home Theaters stands ready to guide you through this journey, ensuring that your home cinema not only meets but exceeds your expectations. Remember, the ultimate goal is to create a space where technology meets comfort, transforming your movie-watching experience into something truly extraordinary.
If you need assistance and live in Utah please request a free quote here.


