Thinking about upgrading your home entertainment setup with a Projector and Screen? At AZP Home Theaters & Automation, we know the challenge of installing these systems can be daunting. Fear not! In this post, we’ll guide you step by step to make DIY projector and screen installation a breeze. Perfect for homeowners who want to transform their space, we’ve got the tips you need for a smooth experience.
Choosing the Right Projector
Finding the perfect projector is the first step in creating your home theater. But where to start? Consider the room size and Lighting conditions. Larger rooms might need projectors with higher lumens for a clear picture. Additionally, you’ll want a projector that supports the resolution you need—be it 1080p or 4K. Remember, when in doubt, opt for a model with adjustable focus and zoom to fine-tune the viewing experience.
Another factor to consider is connectivity. Ensure your projector has the necessary ports for all your devices, whether you’re plugging in a streaming device, gaming console, or Blu-ray player. Look for HDMI ports, USB connections, and even Bluetooth capabilities to keep things flexible. Happy hunting!
Selecting the Ideal Screen
A great screen complements your projector beautifully. Think about your space and decide between fixed-frame screens and portable ones. Fixed screens are ideal for dedicated home theaters, providing a professional look. Portable screens, on the other hand, offer flexibility if you’re not ready for a permanent setup.
Material is key too! Matte white screens are popular for their versatility and ability to handle ambient light. However, if you’re striving for that cinema effect, consider a gray screen to enhance contrast and black levels.
Location, Location, Location
You’ve got your equipment, but where should it go? Positioning is vital for optimal viewing and sound. Install your projector on a stable surface or ceiling-mount it to avoid disruptions. Ensure the projector is at the right distance from the screen for the best image size and focus.
As you set up, consider the room’s Acoustic qualities. The right layout can significantly enhance sound quality. Experiment with your speaker placement—sometimes a little trial and error goes a long way!
Installation Tools You Need
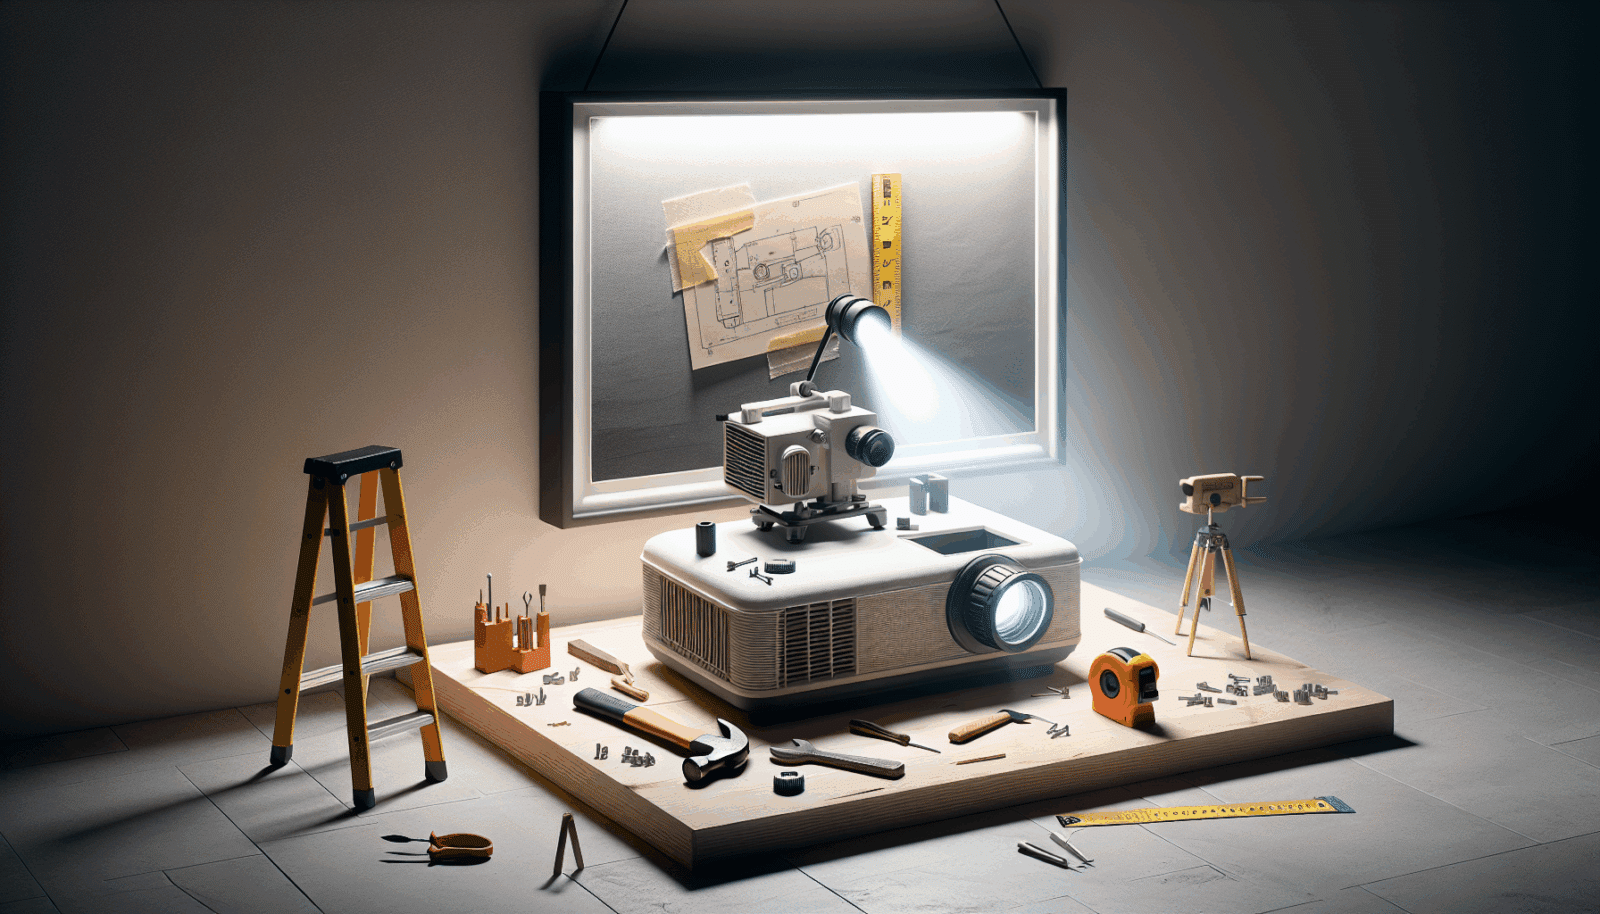
Before you dive in, gather the right tools. Having everything on hand speeds up the process and avoids unnecessary frustration. Here’s a quick checklist of must-haves.
- Screwdriver Set: Essential for mounting brackets and adjusting screws. Make sure you have both flathead and Phillips.
- Measuring Tape: Accurately measure the distance from projector to screen and ensure everything lines up perfectly.
- Level: Keep your screen and projector even for the best viewing experience. A crooked setup can affect both aesthetics and functionality.
- Ladder: If you’re ceiling-mounting, a ladder provides the height you need safely.
- Cable Management Supplies: Keep things tidy with zip ties or cable covers. Nobody likes a tangled mess of cords!
Mounting the Projector
It’s time to mount your projector. Read the manufacturer instructions carefully and follow any specific guidelines. Typically, you’ll need to attach a mounting bracket to the projector first. Then, secure it firmly to the ceiling or a shelf.
Don’t rush! Double-check that everything is level and aligned. This is crucial for maintaining picture quality. Test the position by turning on the projector and adjusting as necessary to fill the screen correctly.
Assembling the Screen
Screen assembly can vary based on the model, but most are straightforward. Start by laying out all the frame parts and screen material. Follow the instructions to connect the frame pieces securely. Stretch the screen material so it’s taut without wrinkles.
Attach the screen to the wall or set it up in its freestanding base. Precision is key to avoid any sagging or tilts. Success here ensures your captivating visuals remain distraction-free!
Connecting Your Components
A seamless movie night experience requires everything to be connected properly. Begin with your audio-visual components, plugging them into the projector appropriately. HDMI cables are typically the go-to choice for high-quality video and audio.
Don’t forget about the sound! Connect your speakers or sound system. Make use of any wireless options available to reduce clutter. Finally, power everything up and make sure each component operates smoothly.
Tuning the Image Settings
Now, let’s perfect that picture. Your projector will likely have settings for brightness, contrast, color, and sharpness. Adjust these to suit your room’s light conditions and your personal preferences.
This step might require some patience, but the payoff is a breathtaking visual experience that meets your expectations. Take some time to experiment until you find the sweet spot.
Sound Optimization
Great visuals deserve equally great sound. Depending on your room and the equipment, you might need to tweak the audio settings. Many audio systems come with a calibration mic to help detect the ideal settings for your space.
Whether it’s adjusting the bass or coordinating Surround Sound, take time to refine your audio. Remember, the goal is to make every word and note crystal clear for every seat in the room.
The Final Touches
You’ve done it! But wait—pass over the setup once more to ensure everything is secure and working as expected. Hide cables, test the remote functions, and make any final adjustments.
Once you’re satisfied, invite friends and family over and luxuriate in your home cinema wonder. Your hard work has transformed your space and now it’s time to enjoy your favorite films like never before.
Looking for some expert help with your home theater setup? Reach out to us by phone at 385-475-3549 or Request a Free Quote today!


