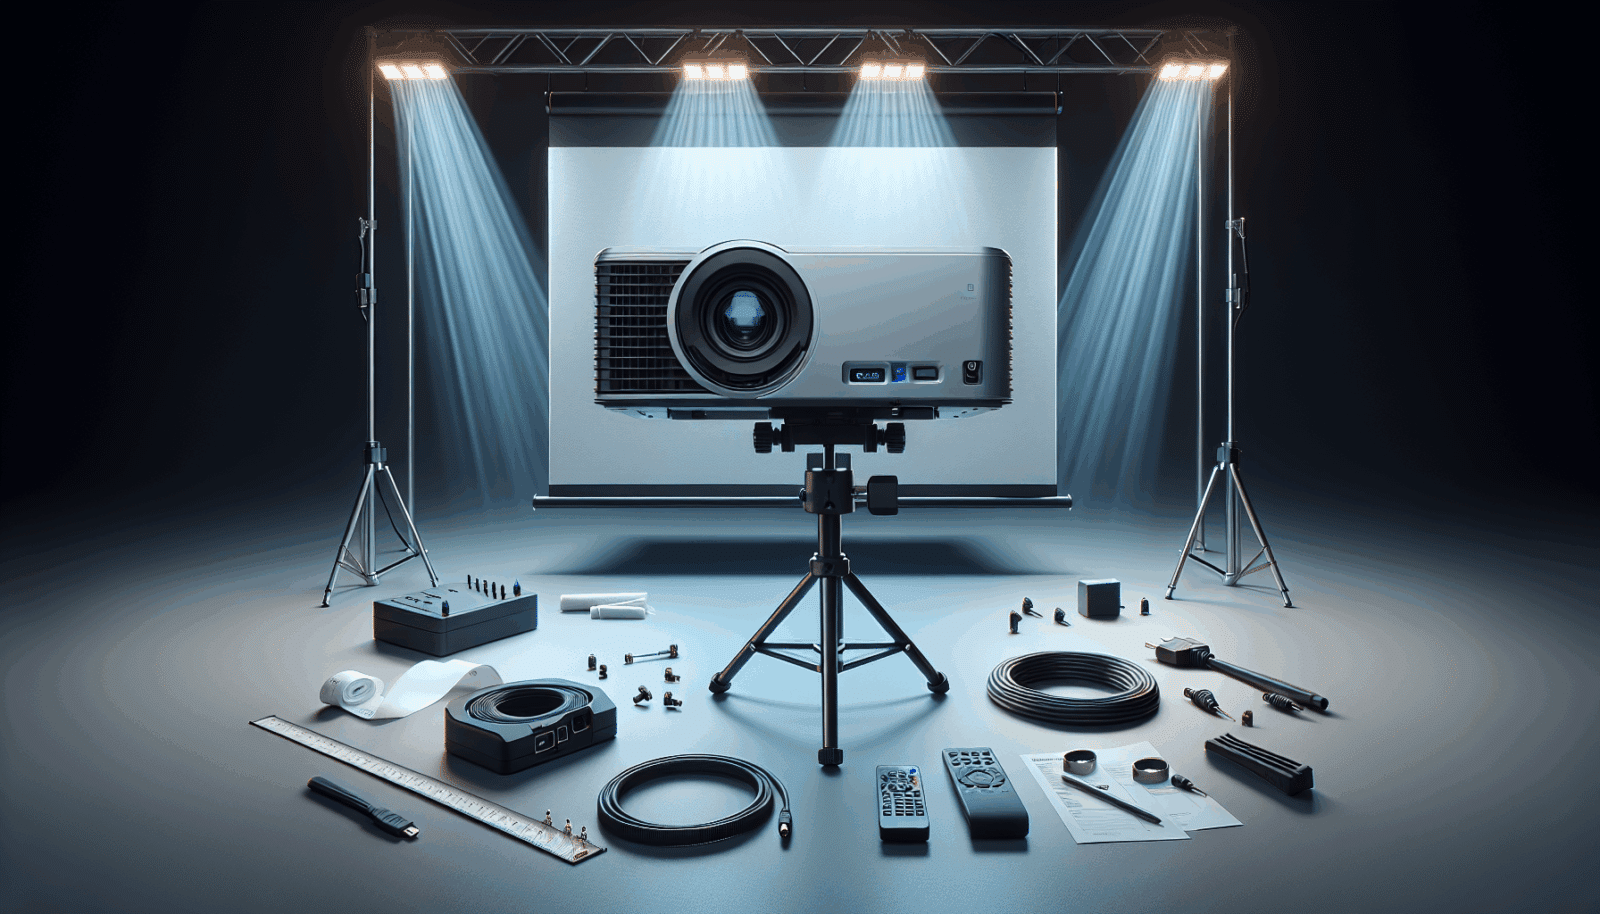
Setting up a high-definition Projector can seem overwhelming, but it doesn’t have to be. At AZP Home Theaters & Automation, we understand the common challenges faced by homeowners trying to achieve that perfect cinema experience. That’s why we’ve created this comprehensive guide to help you set up your projector like a pro. Whether you’re watching the big game or enjoying a movie night, we’ve got you covered!
Choosing the Right Projector
Selecting the right projector is crucial. You want something that fits your space, meets your quality expectations, and aligns with your budget. Start by considering the resolution you need. If you’re a movie buff, a 4K projector might be your best bet. On the other hand, a 1080p model can be just as satisfying for casual viewing. Don’t forget to check the brightness levels, especially if your room isn’t entirely dark.
Projector types also matter. Decide between DLP, LCD, or LCoS. Each offers unique benefits. DLP is great for theaters due to its amazing contrast, while LCD might be preferable for brightly lit rooms. LCoS is often seen as high-end, blending qualities of both DLP and LCD. Think about what aligns with your viewing habits.
Preparing Your Space
Before even unboxing your projector, take a moment to assess your room. Knowing the dimensions and layout can help you make informed decisions about placement. Ideally, your projector should be perpendicular to the Screen surface for optimal picture quality.
Lighting plays a huge role in your projector’s performance. Consider blackout curtains or controlled lighting options to enhance the viewing experience. Ambient light can wash out colors and impact your visual enjoyment, so it’s worth addressing upfront.
Mounting the Projector
Now, let’s talk about getting your projector in place. Depending on your setup, you can either ceiling-mount it or place it on a table. Ceiling mounts offer a clutter-free look but require precise measuring and drilling.
On the other hand, a table setup can be more flexible and convenient for temporary arrangements. Ensure the projector is level and stable. Use a level tool if necessary, and remember to keep the lens in line with the top or bottom of the screen for best results.
Screen Selection and Setup
Not all screens are created equal, and choosing the right one can make all the difference. Consider the size of your room and the throw distance of your projector. These will dictate the maximum screen size you’ll want to install.
Materials matter too. A screen with gain properties might suit a well-lit room, whereas a matte white surface offers great color reproduction in controlled lighting. There’s also the decision of a fixed or retractable screen, where each option depends on the permanence you wish for in your setup.
Cable Management Tips
Let’s face it, no one wants unsightly cables. Effective cable management will not only enhance the look of your setup but also prevent potential hazards. Consider options like cable conduits or raceways to hide wires.
Label each cable for easier troubleshooting and maintenance. This simple step can save time and stress when you’re trying to resolve any issues that arise in the future.
Adjusting Picture Settings
Once your projector is up and running, it’s time to dive into the settings. Adjusting brightness, contrast, and color settings can vastly improve your viewing experience. Take time to explore each setting; sometimes, the factory default isn’t the best choice.
Many projectors come with presets for different room types and media genres. Don’t hesitate to try these out and see how they affect your image. Also, consider doing a demo with familiar content to gauge the impact of your adjustments.
Sound System Integration
A picture-perfect setup deserves sound that matches. Connect your projector to a sound system for immersive audio. Whether it’s a Surround Sound system or a simple soundbar, the right audio can take your home theater experience to the next level.
Be sure to sync your audio and video perfectly. A slight delay can ruin the experience. Most projectors have audio output options compatible with various setups, making integration smoother.
Troubleshooting Common Issues
Even well-planned setups can face occasional hiccups. Knowing how to troubleshoot is key. Does the picture seem off? Double-check your cables and connections—they can loosen over time.
Having issues with focus? Your projector may need a slight adjustment on the lens ring. Also, don’t forget to check the manual for specific solutions tailored to your model.
Maintenance and Care
To keep your projector in top shape, regular maintenance is a must. Keep the lens clean and dust-free using a soft cloth and lens cleaner. This ensures that your image remains sharp and clear.
Make sure to ventilate the area around your projector to prevent overheating, which can shorten its lifespan. Planning periodic checks can significantly prolong its usability.
Additional Tips and Tricks
Here are some extra tips to elevate your experience.
- Opt for a Dark Wall Color: Darker walls absorb excess light, enhancing image quality and contrast in your room.
- Invest in Smart Lighting: Compatible smart bulbs or dimmers allow you to create the perfect mood with just a tap on your phone.
- Test Viewing Angles: Ensure everyone has a good view by checking angles from different seats.
- Consider Acoustic Treatments: Sound quality can improve dramatically with a few well-placed panels or curtains.
- Regular Software Updates: Keeping your projector’s firmware current can optimize performance and resolve minor issues smoothly.
Wrapping all of this up, setting up your high-definition projector can be a fun and rewarding project. If you run into any issues or prefer to leave it to the pros, Contact Us at 385-475-3549 or Request a Free Quote.


