Thinking of transforming your living room into a personal cinema? At AZP Home Theaters & Automation, we get it; the allure of movie nights on the big Screen is unbeatable. Yet, setting up that Projector and screen often feels overwhelming. But fret not, homeowners! We’re breaking it down one step at a time to help you craft the ultimate home theater experience.
Understanding Your Space
Before you dive into installation, it’s crucial to know your room’s dimensions and Lighting situation. Different spaces call for different projector setups. Too much ambient light can wash out your screen, impacting your viewing experience. If your room isn’t a blackout paradise already, consider how you can block light or perhaps opt for a brighter projector.
The size of your room will determine the ideal distance between the projector and screen. Trust us, nobody wants to install the gear twice! Measure twice, install once. Also, ensure there’s enough room for speakers, comfy seating, and… don’t forget the popcorn machine!
Selecting the Right Projector
Not all projectors are created equal; they’re as diverse as movie genres. Consider lumens count; simply put, this is your projector’s brightness. Bright spaces need higher lumens. We recommend projectors with at least 2000-3000 lumens for average home settings.
Resolution is another key feature. If you’re looking for crisp, clear images—think HD or 4K. Yes, 4K is trending and enhances your viewing pleasure to a whole new level. Remember, higher resolution projectors make a visible difference when screen sizes are giant. It’s all about clarity.
Choosing the Perfect Screen
Screen selection can be the difference between a blockbuster hit or a flop. Size and gain (brightness potential of the screen) are elements to ponder. Screen size should match your projector and fit well in your space, without being overwhelming.
Gain varies based on projector power and room light level. Higher gain screens are beneficial for larger, brighter rooms. It’s like a magic trick where light is enhanced. Movies come to life; your friends will love you for it!
Mounting Your Projector
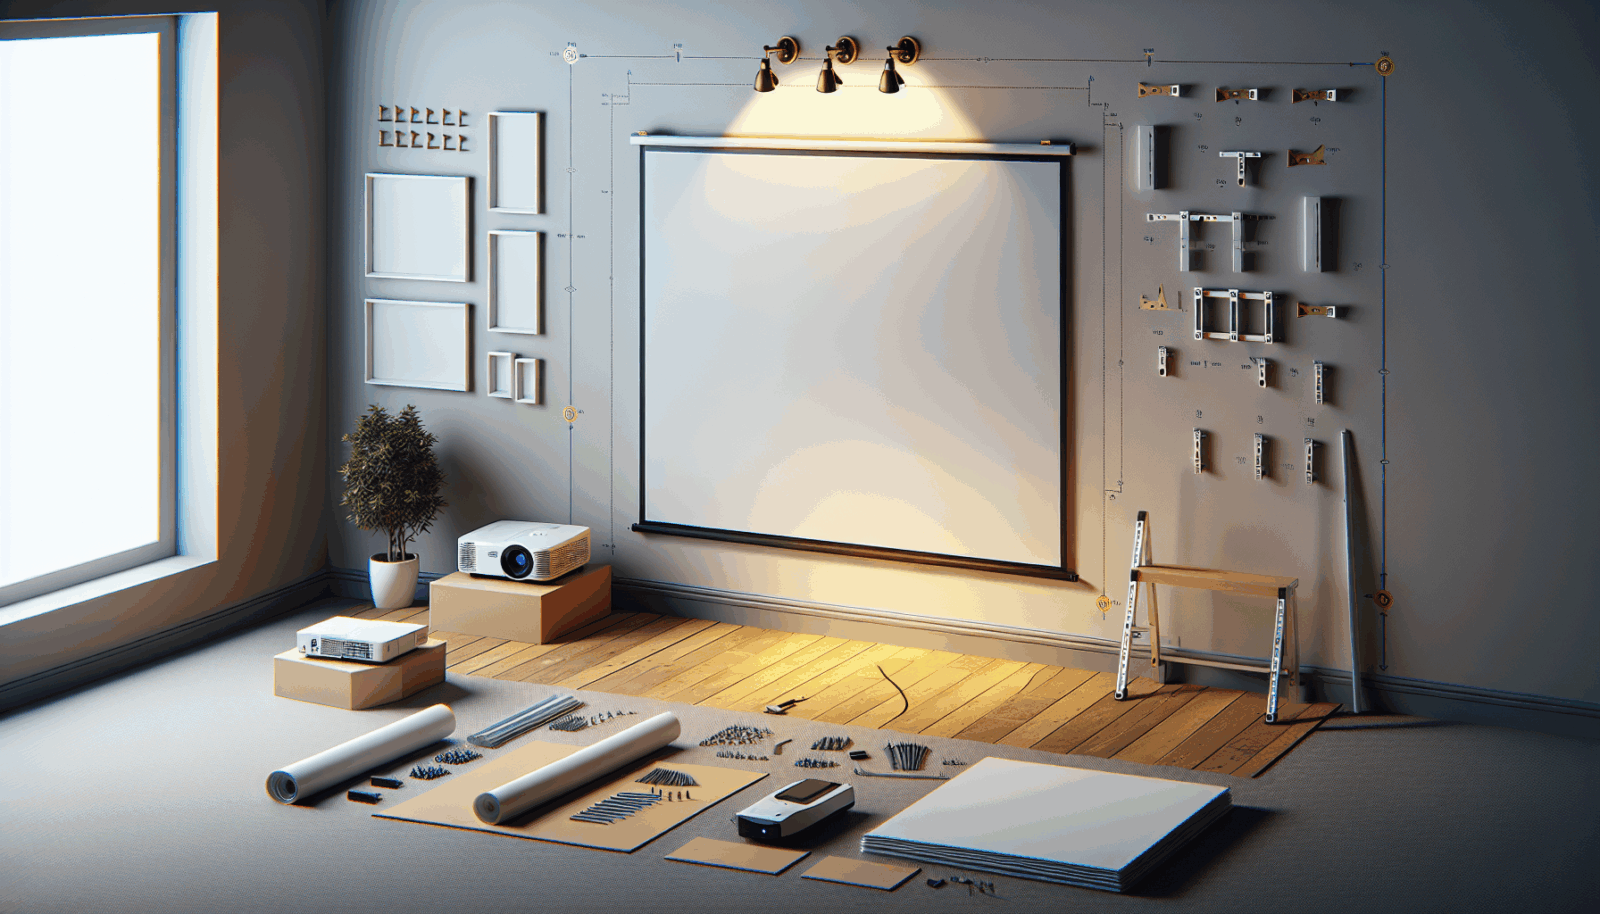
Here’s where we get to the nuts and bolts—literally! Mounting your projector correctly spells the difference between a seamless movie date and a balancing act with books and stools. Decide between ceiling and wall mounts based on your room setup and viewing vibe.
Once chosen, follow the manual carefully. Use a level tool to ensure alignment because slanted screens are only ideal in avant-garde art galleries! Also, ensure the mount can handle the projector’s weight; we don’t want your setup turning into a scene from an action film.
Installing the Screen
Proceeding to the screen—align it with the projector for a perfect picture match. Check the manual for correct height and alignment. Typically, the screen should be at eye level from your seating position. Mark mounting points with precision to avoid Swiss cheese walls.
Ensure it’s secure; nobody wants a screen crashing down mid-plot twist. We recommend consulting a friend or family member to double-check your measurements. Two heads (and four hands) are often better than one in installations.
Connecting the Projector
Here comes the spaghetti stage—cables! Connection determines image and sound quality, so choose HDMI for digital goodies. It’s the hero of clear transmission, ensuring your HD signals are direct and loss-free.
Hook up power supplies and all input sources. Assess cable lengths to avoid future trip hazards; you don’t want to be that comedic character tripping over cables, do you? Tidy up by concealing these potential attackers with covers or along walls.
Tuning the Picture Settings
Now that connections are snug, it’s time to finesse the picture quality. Access the projector’s settings menu and adjust contrast, brightness, and color balance. Every projector has unique tendencies; a little tuning turns visual mediocrity into cinematographic wonder.
Consider starting with a test image or popular movie scene. Adjust settings in small increments; overzealous tweaks lead to psychedelic unintended effects unless that’s your thing. Aim for clarity, contrast, and color that mimic real life.
Sound System Setup
Can’t forget sound—the soul of a theater experience. Sync up external speakers or sound systems. Don’t depend solely on the projector’s built-in speakers unless soft whispers over raucous action scenes are your thing.
Strategically place speakers around the room. Surround Sound systems transform viewing from passive to immersive. You’re not just watching a movie; you’re inside it. Watch movies the way directors intended: with heart-pounding sound.
Final Checks and Adjustments
With everything in place, indulge in a final check. Inspect projector alignment once more. Are the cables discreet and providers of harmony, not chaos? Foresight prevents hindsight, so perform a test run before inviting the neighbors for a film night.
Double-check speaker and visual settings. Practice makes perfect, and practice ensures flawless premieres at your home theater. You’re now in the director’s seat at your personalized movie haven!
Enjoy Your Home Theater
Everything’s set, so it’s time to savor the fruits of your labor. Feel the satisfaction as the curtain metaphorically rises in your living space. You’ve turned your vision into reality, proving DIY doesn’t need to be a daunting task.
Want expert help or a free consultation? Contact Us at 385-475-3549 or Request a Free Quote.


