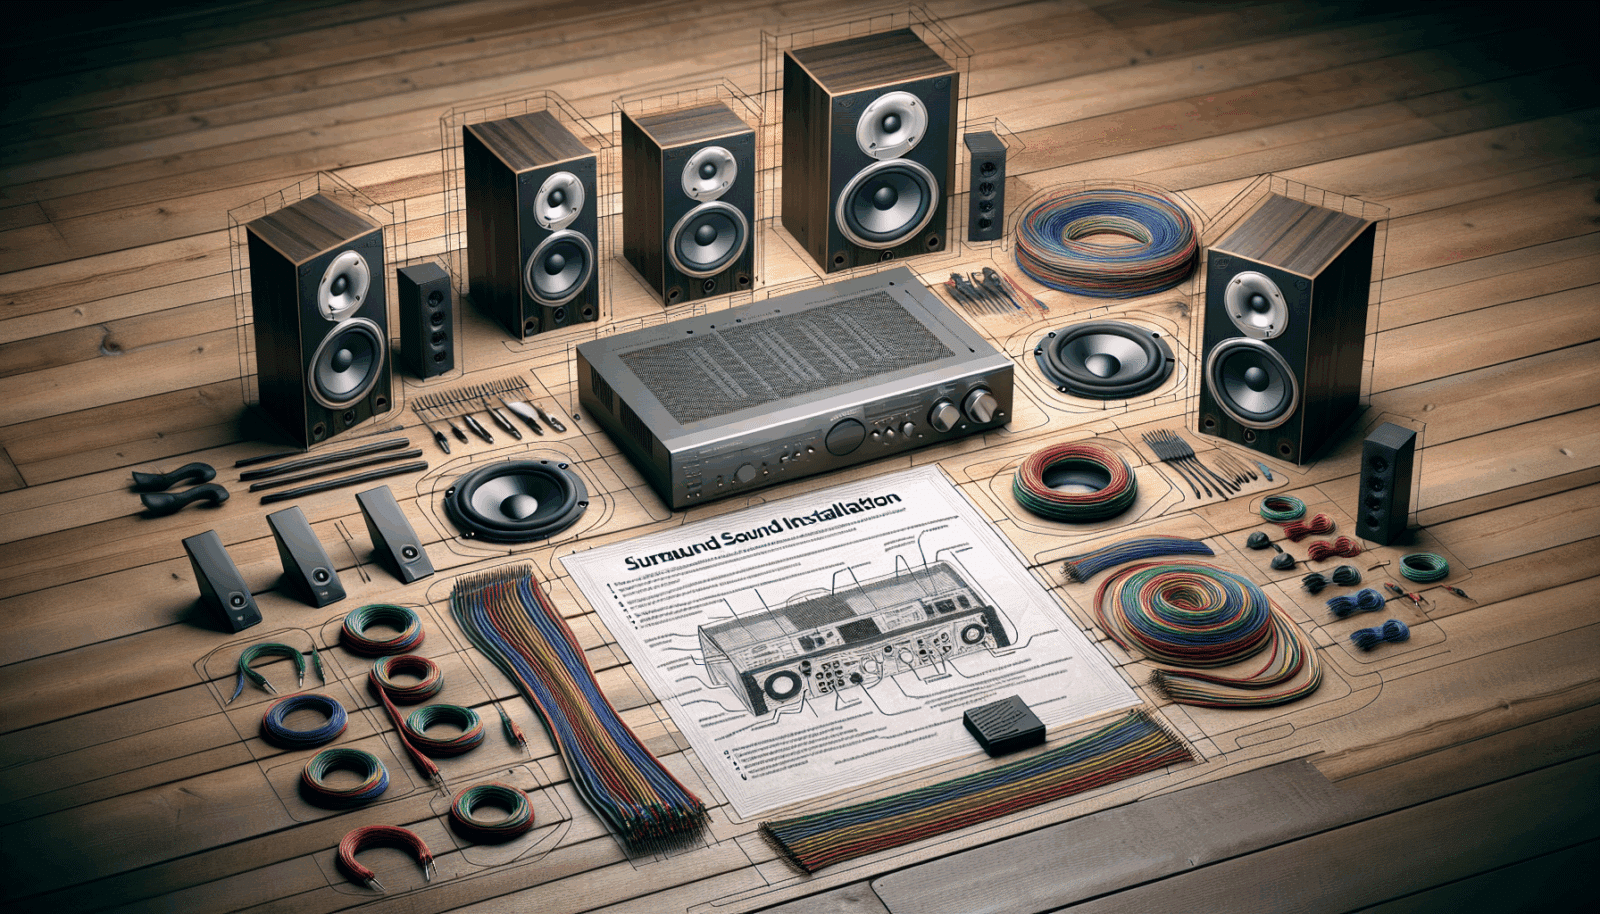
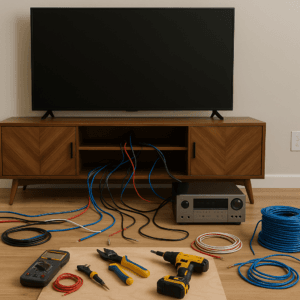
At AZP Home Theaters & Automation, we understand that a top-notch Surround Sound system can transform your home entertainment experience. However, setting it up might seem daunting. That’s why we’ve crafted this step-by-step guide to simplify surround sound installation. Whether you’re a tech enthusiast or a beginner, these instructions will help you achieve audio bliss in no time.
Choosing the Right Equipment
Before diving in, it’s essential to select the right equipment. The right gear ensures a flawless audio experience and long-term satisfaction.
Start by assessing your room size and layout. Larger rooms may need more powerful systems, while smaller spaces can do with compact solutions. Consider the type of speakers you want as well. Floor-standing, bookshelf, or in-wall speakers each offer unique advantages.
Additionally, don’t forget about the receiver. It’s the heart of your setup, processing audio signals and sending them to speakers. Make sure it supports all your desired features, like Dolby Atmos or DTS:X.
Mapping Out Your Room
Planning your room layout is crucial for optimal sound distribution. Where you place your speakers will significantly impact the listening experience.
Measure your space and sketch a basic layout. Identify the primary listening area, as this will be the focal point for speaker placement.
Consider the acoustics of your room. Do you have carpet or hardwood floors? Are there large windows? Such variables can affect sound quality, and it’s helpful to plan for them early on.
Unpacking and Organizing Components
Once your plans are set, it’s time to dive into the setup. Start by unpacking all your components.
Be sure to handle everything with care to avoid damaging any equipment. Keep the original packaging and manuals nearby, as they can be useful for future reference or troubleshooting.
Organize your components logically. Group similar items together, such as speaker cables, power cords, and HDMI cables, to keep everything neat and accessible.
Connecting the Receiver
The receiver is key to directing audio signals, so connecting it correctly is crucial.
First, position your receiver where it’s easily accessible to your other components. Typically, placing it close to the TV or media center works best.
Then, connect the receiver to your TV using an HDMI cable. This setup ensures that both audio and video signals are efficiently transmitted between the devices.
Placing Your Speakers
The magic of surround sound lies in speaker placement. Let’s place them right for an immersive experience!
Front left and right speakers should be positioned at equal distances from the TV, ideally at ear-level. This setup ensures a balanced stereo effect.
Your center speaker, crucial for dialogues, should sit directly above or below the TV Screen. It anchors soundscapes to the visuals effectively.
Setting Up the Subwoofer
A subwoofer adds depth to your sound, making those movie explosions truly unforgettable.
Place the subwoofer near a wall for maximum effectiveness. Corners of the room can often amplify bass performance, enhancing your overall audio experience.
Experiment with its location to find the sweet spot that delivers rich, deep bass without overwhelming the other speakers.
Wiring Everything Together
With speakers in place, it’s time to connect them. Proper wiring is essential for maintaining sound quality.
Use quality speaker cables to connect each speaker to the receiver. Ensure the connections are secure to prevent any sound disruptions.
Label your cables for easy identification. This step simplifies troubleshooting and future adjustments, saving you time and effort.
Calibrating the System
Calibration fine-tunes your setup, making sure everything works harmoniously.
Utilize the receiver’s automatic calibration system if equipped. This feature can adjust each speaker’s output to match the room’s acoustics.
Alternatively, manual calibration allows you to tweak sound levels to personal preference, ensuring each speaker delivers the right volume and tone.
Testing the Setup
Time to bring everything to life! Testing your setup confirms that installation was successful.
Play audio content that utilizes surround sound to check speaker balance. Listen for consistent sound quality and accurate speaker output.
Adjust any settings if necessary, ensuring speech is clear and effects envelop you in every corner of the room.
Troubleshooting Common Issues
Sometimes, issues arise despite careful setup. Here’s a quick checklist to resolve common problems.
- No Audio Output: Ensure all cables are connected correctly and securely. Check that your receiver is powered on and set to the right input source.
- Distorted Sound: This often arises from faulty connections. Verify cable integrity and connections.
- Unbalanced Sound: Re-calibrate your system or adjust individual speaker levels through your receiver’s settings.
- Interference: Nearby electronic devices may cause disruptions. Keep cables organized and check for any interference sources.
- Software Updates: Ensure your receiver and other devices are running the latest firmware to avoid compatibility issues.
Wrapping Up and Final Thoughts
There you have it—a complete guide to surround sound installation! Each step is designed to simplify the process and enhance your home audio experience.
To elevate your home entertainment even further, Contact Us at AZP Home Theaters & Automation. Speak with us by phone at 385-475-3549 or Request a Free Quote for professional guidance tailored to your needs.


