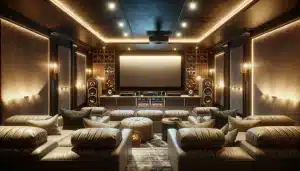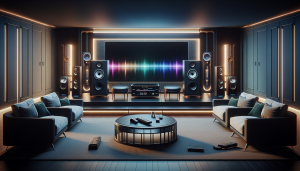
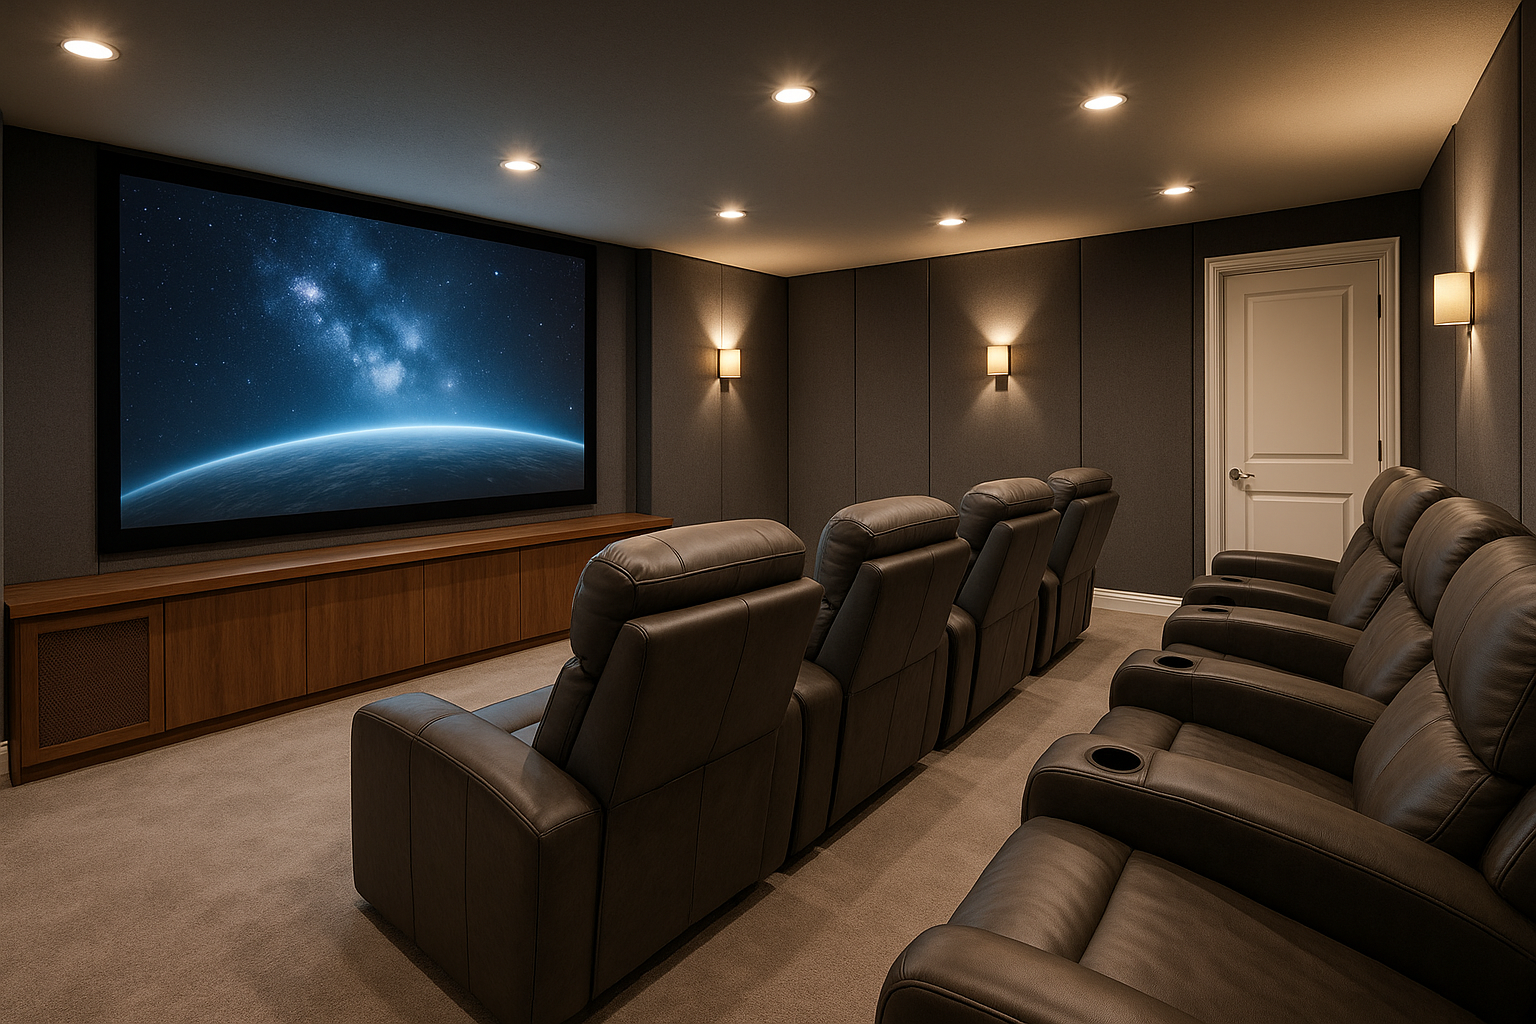
Picture this: snow flurries outside, the Wasatch fading blue at dusk, and you’re tucked into a warm, dark room where the picture is huge and the sound wraps around you. That’s the charm of a smart, well-built Basement Home Theater in Salt Lake City. Basements are quiet. They’re naturally darker. And they’re already halfway to cinema without trying too hard. If you’re a homeowner sketching ideas on a napkin or a notes app, this guide shows you how to design a custom space that looks great, sounds better, and just plain works for movie nights, Jazz games, or that epic Lord of the Rings marathon.
First things first: can your basement handle it?
Before speakers and screens, check the bones. Here’s the thing—great theaters start with good rooms.
Salt Lake basements can run dry one year and surprise you the next, so plan for moisture control. Add a vapor barrier on exterior walls, seal any hairline cracks, and consider a dehumidifier drain if your space has ever felt damp. If your home has radon mitigation, keep it active; if not, it’s worth a test before you close up walls.
Ceiling height matters. You can do a cozy theater at 7.5 feet, but 8 to 9 feet gives you freedom for Dolby Atmos speakers and star ceilings without a cramped feel. Also, confirm code items like egress windows and smoke/CO detectors.
Now airflow. Silence is golden, but so is fresh air. A dedicated HVAC supply and return keeps temps even and fan noise low. Flexible lined duct, long gentle runs, and oversized grilles help reduce whoosh and rattle.
Finally, power. A couple of 20-amp circuits for gear and a separate one for Lighting is a smart baseline. While you’re there, get conduit in the walls and to the Projector location—you’ll love yourself in five years when cable standards change again.
Layout that feels right (and measures right)
Great rooms are planned on paper long before paint. Start with dimensions. Rectangles beat squares because they help tame boomy bass.
Room shape and sweet spots
If you’re framing, aim to avoid equal dimensions. For example, 20 by 13 by 8 feet is easier to tune than 16 by 16 by 8. Not perfect science—just good physics. And if you’ve got a pesky support post (which many Salt Lake basements do), we can hide it inside a faux column that later doubles as a place to mount surround speakers.
Sightlines and risers
Bigger screens are better. Except when they’re not. The trick is matching size to distance, so your eyes relax. Here’s a quick guide that keeps things friendly:
| Room width | Screen diagonal | Front row distance |
|---|---|---|
| 11–12 ft | 100–110 in | 9–10 ft |
| 13–14 ft | 120–135 in | 10–11.5 ft |
| 15–17 ft | 140–160 in | 11.5–13 ft |
If you want two rows, plan a riser about 8–12 inches tall; the exact height depends on screen lower edge and your sightline over the first row. Leave 24–30 inches for a center aisle or side walkway. A tiny detail, but it makes the room feel more like… a room.
Sound you can feel, not hear through the walls
Two different topics that people mix up: soundproofing and Acoustic treatment.
Soundproofing keeps your theater from waking the baby—or your neighbors during a late playoff game. Think heavy, sealed, and decoupled. A tried-and-true stack looks like this:
– Decouple framing with resilient channel or staggered studs.
– Load up mass with two layers of 5/8-inch drywall and Green Glue between.
– Seal everything with acoustical caulk—doors, outlets, perimeter.
– Upgrade the door to solid-core with full weatherstripping and a drop seal.
Products like Rockwool Safe’n’Sound, Green Glue, and QuietRock help raise your STC rating so the bass stays home. HVAC can become a sound highway, so add lined duct, slow bends, and isolated mounts.
Acoustic treatment shapes what you hear inside. Early reflections smear dialogue; bass piles up in corners. Panels and bass traps from GIK Acoustics or ATS Acoustics tame that mess. You don’t need a studio—just a balanced mix across first reflection points, corners, and the back wall. You’ll hear the difference the first time voices snap into focus.
Build your audio system: Atmos without the fuss
You can aim high without overcomplicating things. A 5.1.2 or 7.2.4 Atmos layout hits the sweet spot for most basements.
– LCR speakers carry the show. Consider in-wall speakers behind an acoustically transparent screen for a seamless front stage. Brands like KEF, Bowers & Wilkins, and Monitor Audio are reliable choices.
– Surrounds and heights should be placed by the book: surrounds at or just above ear height, height speakers a bit forward and behind the main seats for a dome of sound.
– Subs love company. Two smaller subs often beat one big beast for smoother bass across seats. SVS, REL, and JL Audio stand tall here.
For brains and power, Denon and Marantz AVRs are solid and friendly. Anthem gets you Dirac/ARC room correction that can work wonders when dialed in. And yes, calibration matters. Run the system mic, but also do a short listening session and fine-tune crossover points. Your ears win.
The big picture: projector or giant TV?
Basements in Salt Lake City are made for projection—low ambient light, longer rooms, and zero glare from high noon. Still, both routes work.
– Projector + screen: For cinema scale, a JVC D-ILA or Sony 4K projector paired with a Stewart Filmscreen or Screen Innovations screen is hard to beat. Go acoustically transparent if you want the center speaker behind the image. A 16:9 screen is flexible; a 2.35:1 scope screen with lens memory is pure movie magic.
– Big TV: For brighter, casual viewing—sports, kids, weekend cartoons—an OLED or high-end Mini-LED in the 83–98 inch range makes sense. No lamps to replace. Instant on.
Screen gain and throw distance matter. Short version: match projector brightness to screen size and your room’s darkness. We map foot-lamberts so whites pop and blacks stay inky. If you’re curious, yes, an ultra-short-throw (UST) can work—but they’re happiest up front in very controlled scenarios.
Control the light, control the mood
Great theaters don’t just go “on” and “off.” They glide.
Create zones: sconces on dimmers, step lights for safety, splash lighting behind the screen or on acoustic columns, and soft LED strips tucked into coves. Lutron Caséta and RA3 play nicely with scene control—Movie, Intermission, Credits—paired with Control4 for one-button magic.
Basements already start dark. Finish the job with blackouts for any windows, dark matte paint near the screen wall, and fabrics that don’t shimmer. If you’re feeling whimsical, a star ceiling can add a touch of wonder without bouncing light back to the screen.
Wires, racks, and the not-so-glamorous stuff
Hidden details make a big difference day to day. You know what? This is where projects either feel polished or fussy.
– Prewire generously: 12 or 14 AWG speaker wire, subwoofer lines to at least two corners, Cat6 to projector and rack, and a couple of empty conduits for future surprises.
– Video links: If runs are long, use fiber HDMI or HDBaseT extenders for reliable 4K/120 signals. Keep bends wide and terminations clean.
– Power + protection: Dedicated 20A circuits, a quality surge conditioner like Panamax or Furman, and ventilation for the rack. Add a small UPS for your network gear and projector cool-down.
Networking matters too. Hardwire your streamer and control processor. Wi‑Fi is fine for a phone, not for your entire show.
Comfort counts: seats, air, and small luxuries
A 2-hour movie in a bad chair feels like four. Good seating hugs the difference.
Valencia, Octane, and RowOne offer plush recliners with lumbar support and whisper motors. Cup holders are standard; heaters feel amazing in January. For families, a front loveseat row with a recliner row behind covers all bases. If you’re building a riser, add a shallow bass trap cavity inside—it’s a clever two-for-one.
Air quality? Keep it cool and quiet. Many Salt Lake homes run dry in winter, so don’t be shy about a touch of humidification. In summer, keep fresh air flowing during smoky days without pulling street noise into the room. A mini-fridge and a low-gloss snack counter out back make intermission feel legit.
Budget and timeline: what Salt Lake homeowners actually spend
Real talk helps. Here’s a ballpark to frame expectations:
– Core build-out with framing, electrical, sound isolation, lighting, paint, and carpet: 15–35k depending on size and materials.
– Gear package with projector or big TV, screen, AVR/processor, speakers, subs, rack, and control: 8–40k+ based on performance goals.
– Finishing touches like seating, acoustic treatments, and custom cabinetry: 5–20k.
Permits can add time, and schedules flex with the season. A neat timeline: 2–3 weeks of design and procurement, 4–8 weeks of build depending on scope, and a couple of days for install, programming, and calibration. We also do phased builds if you’d like to spread the spend—wire and framing now, gear when you’re ready.
Why AZP Home Theaters & Automation
We live here, work here, and know the quirks of Wasatch Front basements—from Old Mill ramblers to Daybreak new builds. AZP Home Theaters & Automation blends clean construction with tuned systems, so you get both comfort and performance.
We design for your room first, then gear, using measurements and modeling to predict how it’ll sound and look. We integrate Control4 so lights, audio, video, and HVAC play nice together. And after the first movie night, we come back for tweaks, because the small stuff—dialogue clarity, bass evenness, scene timing—makes your theater feel personal.
Ready to make movie nights easy? Let’s talk.
If you’re picturing a warm, quiet theater downstairs where the seats hug you and the sound just disappears into the room, we’d love to help you build it. Tell us your must-haves, your nice-to-haves, and yes, your pizza topping stance. We’ll take it from sketch to first screening.
Call 385-475-3549 or Request a Free Quote to start your custom basement home theater in Salt Lake City. We serve the whole valley—Sugar House to Sandy, Bountiful to Draper—and we’ll make the process simple, clear, and honestly, a little fun.